Mastering Google Wi-Fi Setup for Node Configuration: A Comprehensive Guide
In today's digital age, a reliable and fast Wi-Fi connection is a necessity for any home or office. Google Wi-Fi is a popular mesh networking solution designed to provide seamless coverage and performance throughout your space. However, setting up Google Wi-Fi can be a daunting task, especially when it comes to node configuration. In this article, we will guide you through the process of setting up Google Wi-Fi for node configuration, ensuring a smooth and uninterrupted connection.
Understanding Google Wi-Fi and Node Configuration
Google Wi-Fi is a mesh-capable wireless router designed to provide coverage and handle multiple active devices at the same time. The system consists of a primary router and additional nodes or points that work together to create a mesh network. Node configuration is the process of setting up and configuring these nodes to ensure optimal coverage and performance.
Choosing the Right Equipment
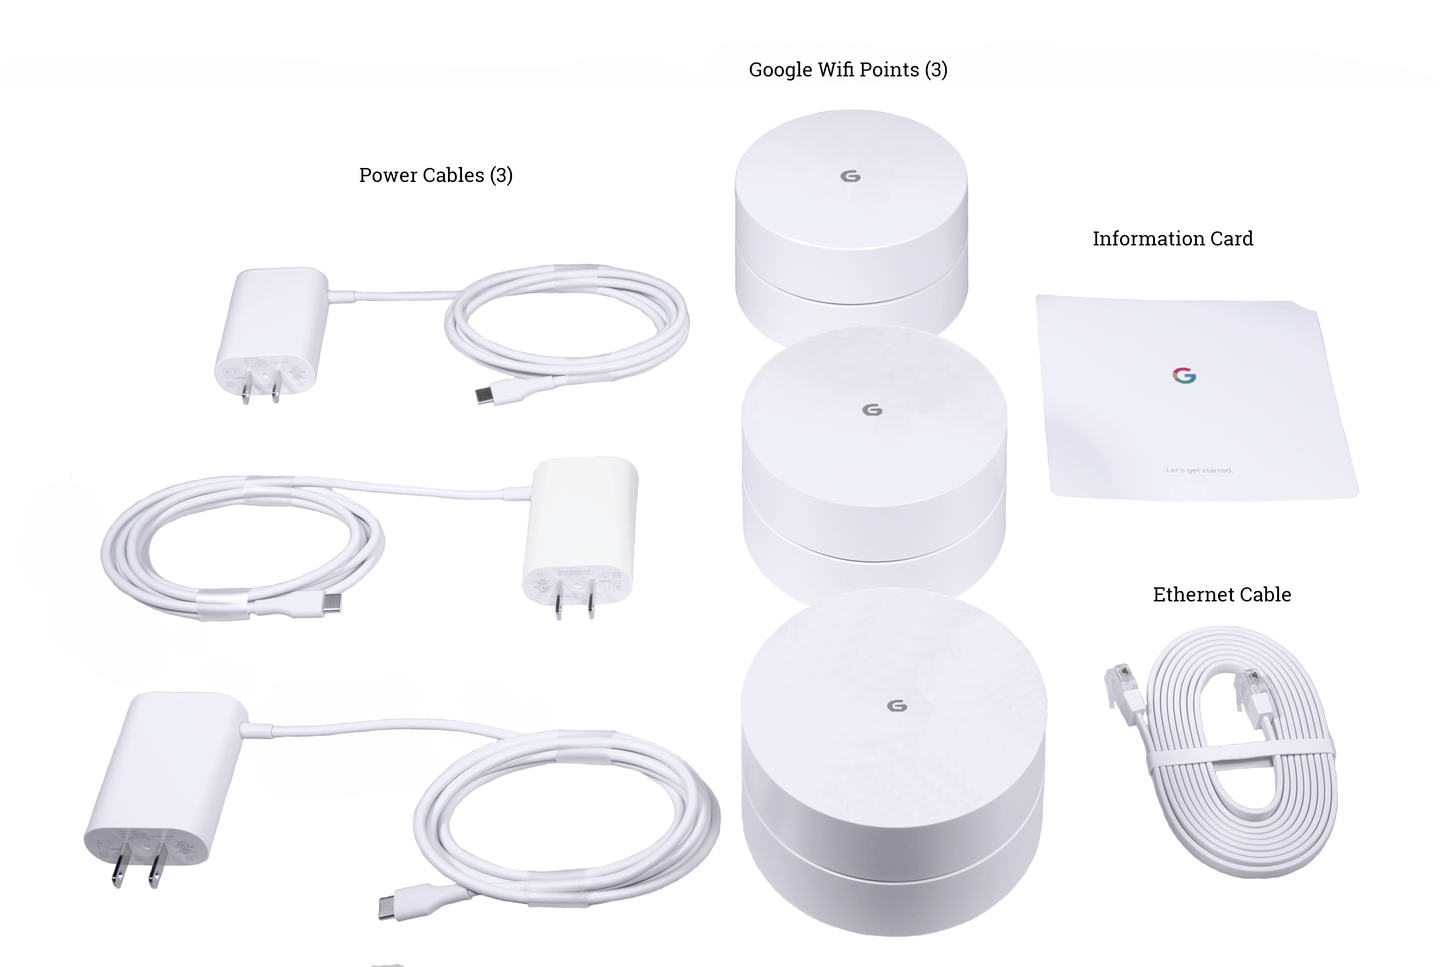
To set up Google Wi-Fi, you will need the following equipment:
- Nest Wi-Fi router or Nest Wi-Fi Pro router
- Additional Wi-Fi devices such as Nest Wi-Fi points or Google Wi-Fi points
For the Nest Wi-Fi router, you will need any additional Wi-Fi devices you'd like to add, such as Nest Wi-Fi points or Google Wi-Fi points, to expand coverage. For the Nest Wi-Fi Pro router, you will need any additional Nest Wi-Fi Pro routers you'd like to add as points to expand coverage.
Step 1: Setting Up the Primary Router
To set up the primary router, follow these steps:
- Connect the router to a power source and turn it on.
- Connect the router to your modem using an Ethernet cable.
- Open the Google Home app and tap on the "+" icon to add a new device.
- Follow the in-app instructions to complete the setup process.
Step 2: Adding Additional Nodes or Points
To add additional nodes or points, follow these steps:
- Place the node or point in a location where it will have the best coverage.
- Connect the node or point to the primary router using an Ethernet cable.
- Open the Google Home app and tap on the "+" icon to add a new device.
- Follow the in-app instructions to complete the setup process.
Step 3: Configuring Node Settings
Once you have added all the nodes or points, you will need to configure their settings to ensure optimal coverage and performance. Follow these steps:
- Open the Google Home app and navigate to the settings menu.
- Tap on the "Wi-Fi" option and select the network you want to configure.
- Tap on the "Node" option and select the node or point you want to configure.
- Adjust the node's settings as needed to ensure optimal coverage and performance.
Troubleshooting Common Issues
While setting up Google Wi-Fi for node configuration, you may encounter some common issues. Here are some tips to help you troubleshoot:
- Failed connections: Check that all nodes or points are connected to the primary router and that the network settings are correct.
- Slow coverage: Check that the nodes or points are placed in optimal locations and that the network settings are adjusted accordingly.
- Difficulty adding nodes or points: Check that the Google Home app is up to date and that the device is properly connected to the network.
Conclusion
Setting up Google Wi-Fi for node configuration requires some technical knowledge and patience. However, by following the steps outlined in this article, you can ensure a smooth and uninterrupted connection. Remember to troubleshoot common issues and adjust the node settings as needed to ensure optimal coverage and performance.
Additional Resources
For more information on setting up Google Wi-Fi for node configuration, visit the official Google support website or check out the following resources:


")

 Review - Mini PC Reviewer")

:max_bytes(150000):strip_icc()/how-to-connect-a-chromebook-to-wifi-4783122-6-1fbd429d1e3f4369a8b322bb64cd6437.png "Set up Nest Wifi Pro or Nest Wifi - Google Help")

