Step-by-Step Guide to Router Setup for Android Devices
Setting up a new g router setup for Android devices can be a daunting task, but with a clear guide, you can get the most out of your Wi-Fi connection and enjoy seamless connectivity throughout your home or office. In this article, we will walk you through a step-by-step guide on how to set up your g router for Android devices and provide some additional tips to improve your network performance.
Step 1: Determine Your Router Type
Before we dive into the setup process, it's essential to determine the type of router you have. Most modern routers are Wi-Fi enabled, but some older models may require a separate setup process. Check your router's manual or documentation to see if it's Wi-Fi enabled. If it is, you can proceed with the setup process.
Step 2: Unbox and Connect Your Router
Once you've determined your router type, it's time to unbox and connect it to your power source. Plug in the power adapter, and make sure your router is properly connected to your modem or internet service provider (ISP).
Step 3: Configure Your Wi-Fi Settings
Next, open your Android device's settings app and navigate to the Wi-Fi settings. Look for the name of your router, which should be printed on the back or bottom of the device. Select the network name, and enter the default password, which is usually printed on the same sticker. If you've changed the password in the past, make sure to update the password accordingly.
Step 4: Set Up Your Wi-Fi Network Name and Password
Once connected, go back to your router's settings and change the network name and password to something more secure. This will ensure that your Wi-Fi network is not easily accessible to others. Make sure to update the password immediately, so your network remains secure.
Step 5: Configure Advanced Settings (Optional)
Some routers have advanced features, such as Quality of Service (QoS) settings or VPN capabilities. Check your router's documentation to see if these features are available and how to configure them. Configuring these features can help optimize your network performance and ensure seamless connectivity for critical devices such as gaming consoles or smart TVs.
Step 6: Use the Google Home App for Easy Setup and Management
For Google router users, you can use the Google Home app to set up and manage your Wi-Fi network. This app allows you to easily change Wi-Fi settings, configure parental controls, and access advanced features. You can also use the app to monitor and manage your network from any device with the app installed.
Additional Tips to Improve Network Performance
- Place your router in a central location to ensure optimal coverage.
- Update your router's firmware regularly to ensure the latest security patches and performance improvements.
- Use Quality of Service (QoS) settings to prioritize traffic for critical devices or applications.
- Use a VPN to encrypt your internet traffic and protect your network from external threats.
Conclusion
Setting up a g router setup for Android devices can seem daunting, but with these steps and tips, you'll be enjoying seamless connectivity and improved network performance in no time.
Common Router Brand Specific Setup Guides
Here are some common router brand specific setup guides:
- Google Nest Wi-Fi Setup: Follow the Google Home app to easily set up and manage your Google Nest Wi-Fi system.
- Asus Router Setup: Use the Asus Router app to configure and manage your Wi-Fi network and advanced features.
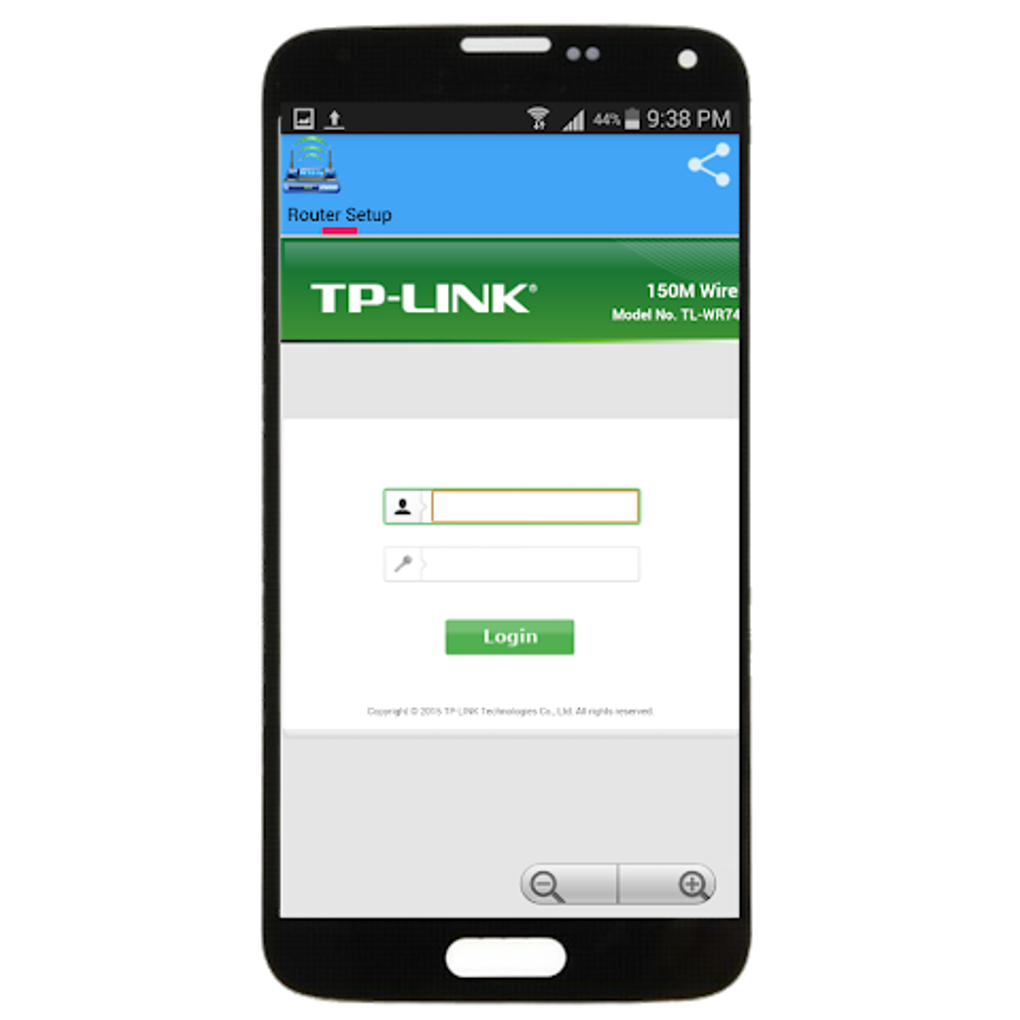
- TP-Link Router Setup: Use the TP-Link Tether app to set up and manage your Wi-Fi network and advanced features.
- Netgear Router Setup: Use the Netgear Genie app to set up and manage your Wi-Fi network and advanced features.


")


