Ultimate Guide to G Wireless Router Installation: A Step-by-Step Manual
Installing a G wireless router can seem intimidating, but with the right guidance, you can have a reliable and fast internet connection in no time. In this article, we will walk you through the process of installing a G wireless router, from unboxing to final setup.
Choosing the Right G Wireless Router
Before you start the installation process, it's essential to choose the right G wireless router for your needs. With so many options available in the market, it can be overwhelming to select the perfect one. Consider factors such as number of devices to connect, internet speed, and coverage area when making your decision.
Unboxing and Preparation
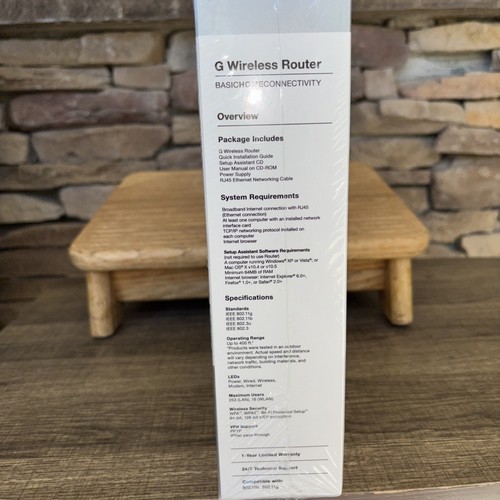
Once you have your G wireless router, it's time to unbox it. Carefully remove all the components, including the router, power adapter, and installation CD. Make sure you have a stable power source and a computer or mobile device with internet access to complete the setup process.
Physical Installation
- Locate a central and stable location for your router, preferably in a room with minimal obstructions.
- Connect the power adapter to the router and the power outlet.
- Connect the Ethernet cable from your modem to the black port on the router.
- Connect the Ethernet cable from the router to one of the wired devices (computer or laptop) for initial setup.
Software Installation
Open a web browser on your computer or mobile device and type the router's IP address (usually http://192.168.0.1 or http://192.168.1.1) in the address bar. This will take you to the router's web interface, where you can configure the settings.
Wi-Fi Configuration
- Set the Wi-Fi network name (SSID) and password.
- Choose the Wi-Fi channel and frequency band (2.4GHz or 5GHz).
- Enable WPA2 encryption and set up a strong password.
- Configure the wireless settings to ensure optimal performance.
Internet Configuration
Connect the modem to the router and configure the internet settings. Ensure that the router is set to obtain an IP address automatically from the modem.
Final Setup and Testing
Once you have completed all the previous steps, save the settings and restart the router. Wait for a few minutes to allow the router to boot up completely. Then, test your Wi-Fi network by connecting your devices and checking the internet connection.
By following these steps, you should be able to install a G wireless router and have a fast and reliable internet connection in no time. Remember to always refer to the manufacturer's instructions and online resources for specific guidance on your router model.
Setting up a G wireless router is a straightforward process that requires some technical knowledge and patience. With this guide, you should be able to successfully install a G wireless router and start enjoying the benefits of a fast and reliable home network.
Additional Tips and Tricks
Here are some additional tips and tricks to help you optimize your G wireless router's performance:
- Place the router in a central location to ensure equal coverage.
- Use a high-gain antenna to improve signal strength and range.
- Enable Quality of Service (QoS) settings to prioritize critical applications and devices.
- Regularly update the router's firmware to ensure optimal performance and security.
Conclusion
Installing a G wireless router can be a daunting task, but with this step-by-step guide, you should be able to complete the process with ease. Remember to refer to the manufacturer's instructions and online resources for specific guidance on your router model. With the right knowledge and equipment, you can enjoy a fast and reliable internet connection in no time.


 Self-Install Kit")


- 3x1G Ports, Easy Setup ...")