Configuring a G Wireless Network for Network Attached Storage: A Comprehensive Guide
Setting up a Network-Attached Storage (NAS) system with a wireless network can be a convenient and efficient way to share files and access data across multiple devices. In this guide, we will walk you through the process of configuring a G wireless network for NAS, ensuring a seamless and secure storage solution for your home or office network.
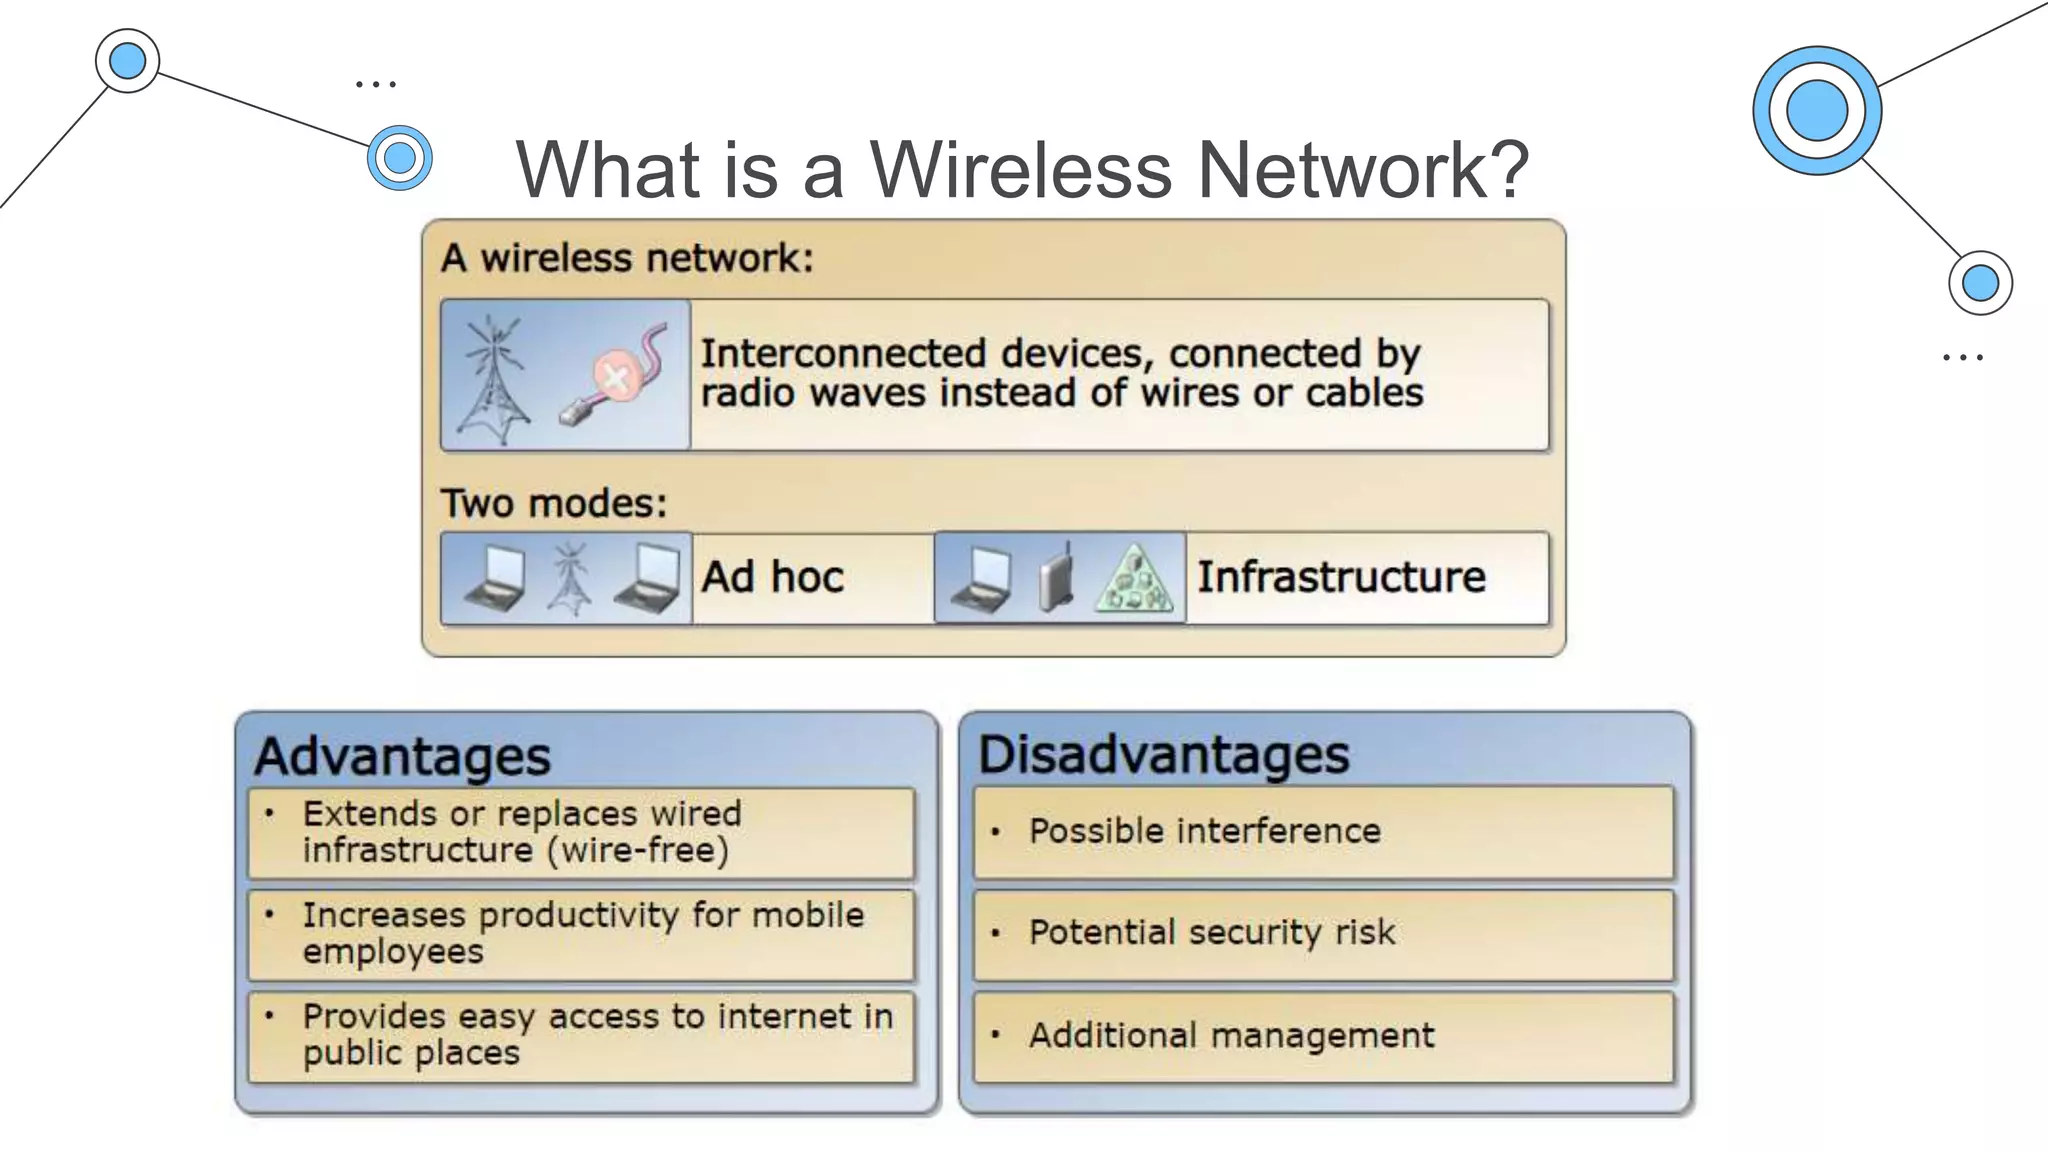
Understanding NAS and G Wireless Networks
A NAS is a device that provides a central storage location for your network, allowing multiple devices to access and share files, photos, videos, and other digital content. A G wireless network, on the other hand, is a type of wireless network that operates at a frequency of 2.4 GHz and provides a maximum data transfer rate of 54 Mbps.
Preparation is Key
Before setting up your NAS, ensure that you have the following components:
- A NAS device (e.g., Synology, QNAP, or Western Digital)
- A router that supports G wireless networks
- Multiple devices connected to your network (e.g., computers, smartphones, or tablets)
- A stable and secure internet connection
Step 1: Set Up Your NAS
Connect your NAS device to your router using an Ethernet cable. Power on your NAS device and follow the on-screen instructions to configure the device's settings, such as network settings, user accounts, and permissions.
Step 2: Configure Your Wireless Network
Access your router's settings using a web browser and log in with your admin credentials. Configure your wireless network settings, including the network name (SSID), password, and channel bandwidth. Ensure that your wireless network operates on the 2.4 GHz frequency band and set the channel to 6 or 11 for optimal performance.
Step 3: Connect Your Devices to the Wireless Network
Connect all your devices to the wireless network using the SSID and password you configured earlier. Ensure that your devices are using the G wireless network frequency band.
Step 4: Map Your NAS to Your Devices
Access your NAS device from your devices using the IP address or hostname you configured earlier. Map your NAS to your devices by creating a network drive or sharing a folder on your NAS device. This will allow you to access your NAS device from any device connected to your wireless network.
Step 5: Configure Network Attached Storage Settings
Access your NAS device's settings using a web browser and configure the network attached storage settings, including file sharing permissions, access controls, and backup settings.
Security Considerations
When configuring a G wireless network for NAS, it is essential to prioritize security. Use strong passwords and enable WPA2 encryption to protect your network from unauthorized access. Regularly update your router's firmware and NAS device software to ensure the latest security patches.
Conclusion
Configuring a G wireless network for Network Attached Storage can be a straightforward process. By following these steps and prioritizing security, you can create a seamless and secure storage solution for your home or office network. Remember to regularly update your network settings and software to ensure optimal performance and security.
Frequently Asked Questions
Q: What is the difference between a G wireless network and a Gigabit Ethernet network?
A: A G wireless network operates at a frequency of 2.4 GHz and provides a maximum data transfer rate of 54 Mbps, while a Gigabit Ethernet network operates at a speed of 1 Gbps (1000 Mbps). G wireless networks are less secure and have lower data transfer rates compared to Gigabit Ethernet networks.
Q: How do I configure my router for a G wireless network?
A: Access your router's settings using a web browser and log in with your admin credentials. Configure your wireless network settings, including the network name (SSID), password, and channel bandwidth. Ensure that your wireless network operates on the 2.4 GHz frequency band and set the channel to 6 or 11 for optimal performance.
 for Home Use")
 device - Bitcatcha")


 Devices for 2026")


