Expert-Approved Tips for a Seamless Ceiling Fan Installation Process
Are you ready to transform your space with a modern and stylish ceiling fan? Installing a ceiling fan can seem intimidating, but with the right tools and expertise, it's a manageable task for beginners. In this comprehensive guide, we'll walk you through every step of the ceiling fan installation process, from selecting the right fan to finishing touches and testing the fan.Key Benefits of Ceiling Fan Installation
Installing a ceiling fan delivers multiple advantages that make this investment worthwhile:- Transforms any room into a more comfortable and energy-efficient space
- Adds both functionality and aesthetic appeal
- Provides a cooling effect during warmer months and helps circulate warm air in cooler temperatures
Tools and Materials Needed for Ceiling Fan Installation
Before you start the installation process, make sure you have the following tools and materials: * Ceiling fan mounting bracket * Electrical box and ceiling fan wiring hanger bracket * Wire nuts * Mounting screws * Fan blades * Motor * Remote control (if applicable) * Light kit (if applicable)Step-by-Step Ceiling Fan Installation Process
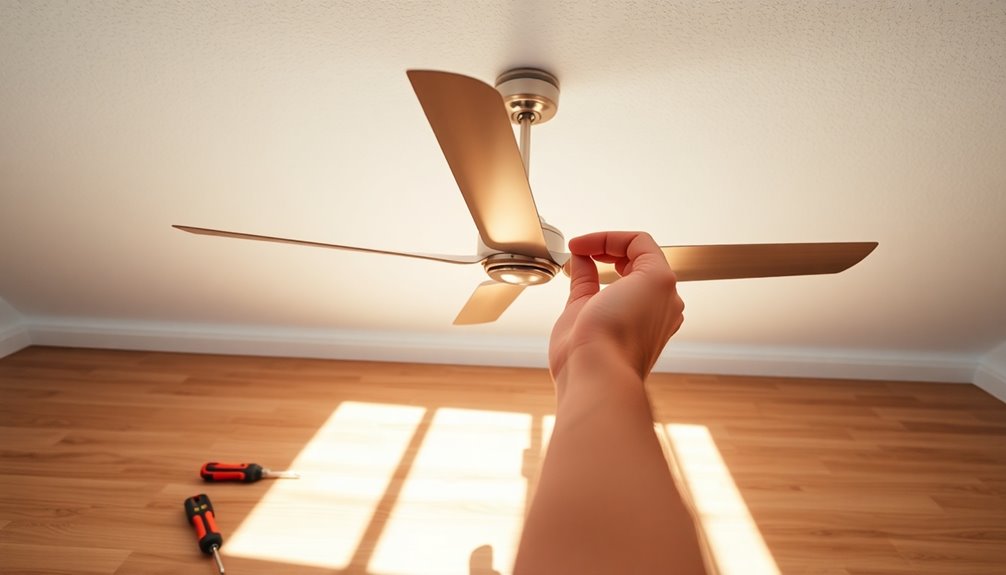
The ceiling fan installation process is similar to wiring a light fixture, with a few modifications to accommodate for the extra weight and wiggle of the fan. Follow these steps to replace a light fixture with a ceiling fan in your home: ### Step 1: Remove the Existing Fixture * Turn off the power to the circuit at the electrical panel * Remove the light fixture and any surrounding trim and coverings * Disconnect the wires and remove the old mounting bracket ### Step 2: Identify the New Ceiling Fan Mounting Bracket * Choose the correct mounting bracket for your ceiling fan * Attach the mounting bracket to the ceiling, ensuring it is securely fastened ### Step 3: Install the Ceiling Fan * Attach the fan blades to the motor * Hang the fan from the mounting bracket, ensuring it is level and securely fastened * Connect the wires to the fan using wire nuts ### Step 4: Connect the Wiring * Connect the wires to the electrical panel, following the manufacturer's instructions * Ensure the fan is receiving power and functioning correctly ### Step 5: Add Any Additional Features * Install a remote control or light kit, if applicable ### Step 6: Test the Ceiling Fan * Turn on the power to the circuit at the electrical panel * Test the fan to ensure it is working correctly and safelyPro Tips and Considerations for Ceiling Fan Installation
Installation Process: Types of Ceiling Fans
Ceiling fans come in various styles, sizes, and configurations to suit different rooms and spaces. Some popular types of ceiling fans include:Types of Ceiling Fans
- Hugger fans that sit close to the ceiling
- Standard fans with a standard mounting bracket
- Low-profile fans with a sleek and modern design
- Dual-direction fans that can move air in both directions


 - Facebook")


